
Le papier peint pré-encollé est une innovation qui simplifie grandement la pose et le retrait.
Conçu avec un support haute performance et un adhésif spécial pré-appliqué, il promet une installation fluide et un décollage sans effort.
Ce guide détaillé vous accompagnera à travers chaque étape pour un résultat impeccable.
Préparation Essentielle pour une Pose Réussie
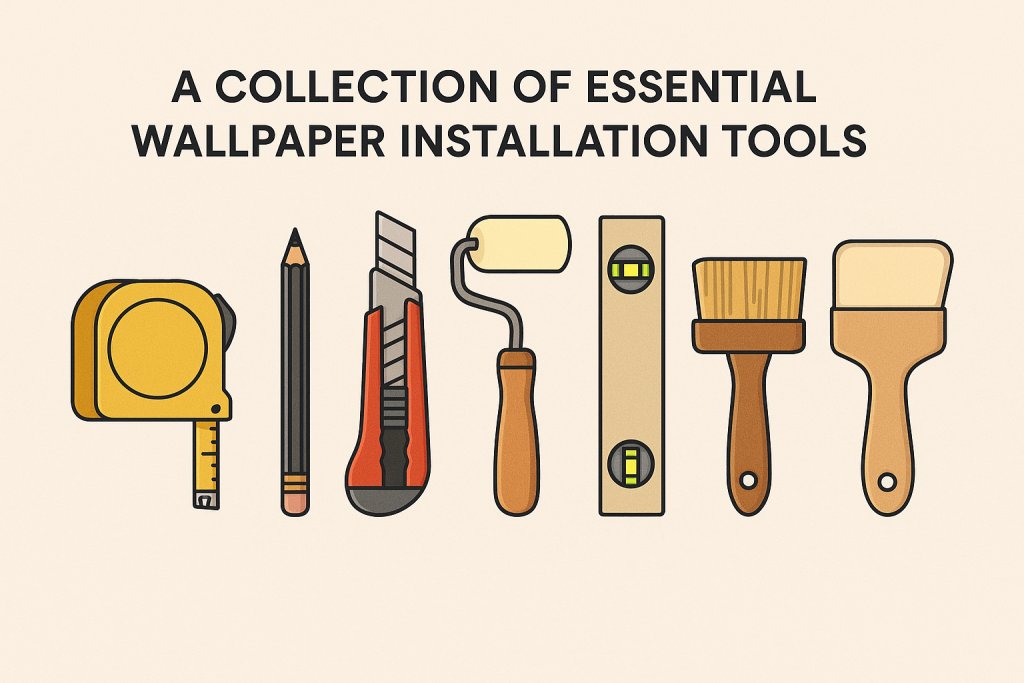
Outils Nécessaires :
- Mètre à ruban
- Niveau ou fil à plomb
- Règle droite
- Cutter affûté
- Crayon
- Vaporisateur à main pour papier peint
- Brosse ou éponge à lisser
Étapes de Pose du Papier Peint
Étape 1 : Tracer la Ligne de Départ
Étape 2 : Couper le Premier Lé
Étape 3 : Activer l’Adhésif
Étape 4 : Le Pliage (Booking)
Étape 5 : Application au Mur
Étape 6 : Ajustement et Raccord
Entretien et Retrait

Nuances et Conseils d’Expert
English Instructions
How to Hang Pre-pasted Wallpaper (The Pro Method)
Pre-pasted wallpaper has the glue already on the back; you just need to “wake it up” with water. Follow these steps for a perfect finish:
1. Prep the Surface
Clean: Wipe walls with a damp cloth to remove dust.
Prime: For the best results in Montreal’s humidity, use a Wallpaper Primer (like Shieldz). This makes the paper stick better and come off easier later.
2. Measure and Cut
Measure the wall height. Cut your first strip 4 inches longer than the wall (2 extra inches for the top, 2 for the bottom).
Check the Match: Before cutting the second strip, hold it up to the first to ensure the pattern aligns perfectly.
3. Activate the Paste (The Water Dip)
The Tray: Fill a wallpaper water tray with lukewarm water.
The Roll: Loosely roll the cut strip with the pattern side facing in and the glue side out.
The Soak: Submerge the roll in the water for 10–15 seconds. Do not over-soak, or you will wash the glue away.
4. The “Booking” Step (Crucial)
Remove the paper from the water. Lay it on a clean floor or table, glue-side up.
Fold both ends toward the middle so the glue sides touch (but do not crease the folds).
Wait 3–5 minutes. This “booking” time allows the paper to expand and the glue to become tacky. If you skip this, the paper will bubble on the wall.
5. Hang and Smooth
Unfold the top half and align the edge with your plumb line (a perfectly vertical line you drew with a level).
Unfold the bottom half. Use a wallpaper smoother or a damp sponge to push air bubbles out from the center to the edges.
Trim: Use a fresh, sharp snap-off blade and a straightedge to trim the excess at the ceiling and baseboard.
6. Clean as You Go
Immediately wipe any excess glue off the front of the wallpaper and the baseboards with a clean, wet sponge. If the glue dries on the pattern, it can leave a shiny residue.
Spanish Instructions
Instrucciones de Instalación: Papel Tapiz Pre-encolado
El papel tapiz pre-encolado ya contiene adhesivo seco en la parte posterior; solo necesita agua para “activarse”. Siga estos pasos para un acabado profesional:
1. Preparación de la Pared
Limpieza: Asegúrese de que las paredes estén limpias, secas y lisas. Pase un paño húmedo para eliminar el polvo.
Imprimación (Priming): Recomendamos aplicar un sellador o imprimante para papel tapiz (como Shieldz). Esto facilita la instalación y permite retirar el papel en el futuro sin dañar el panel de yeso (drywall).
2. Medición y Corte
Mida la altura de la pared y corte la primera tira añadiendo 10 cm (4 pulgadas) adicionales (5 cm para la parte superior y 5 cm para la base).
Verifique el patrón: Antes de cortar la segunda tira, asegúrese de que el diseño coincida con la primera tira.
3. Activación del Adhesivo (El Baño de Agua)
Llene una bandeja para papel tapiz con agua a temperatura ambiente.
Enrolle la tira de papel de forma holgada con el diseño hacia adentro y el pegamento hacia afuera.
Sumerja el rollo en el agua durante 10 a 15 segundos. No lo deje demasiado tiempo, o el pegamento podría lavarse y perder adherencia.
4. El Proceso de Reposo o “Booking” (Paso Crítico)
Retire el papel del agua y extiéndalo sobre una mesa limpia con el pegamento hacia arriba.
Doble ambos extremos hacia el centro, haciendo que las partes con pegamento se toquen (pero no marque el doblez ni cree una arruga).
Espere de 3 a 5 minutos. Este tiempo permite que el papel se expanda y el pegamento se vuelva pegajoso. Si omite este paso, el papel podría expandirse en la pared y crear burbujas.
5. Colocación y Alisado
Despliegue la parte superior y alinéela con una línea de plomada (una línea vertical perfecta dibujada con un nivel).
Despliegue la parte inferior. Use una espátula de plástico suave o una esponja húmeda para eliminar las burbujas de aire, trabajando desde el centro hacia los bordes.
Corte: Use una cuchilla nueva y afilada (cutter) para recortar el exceso en el techo y el zócalo.
6. Limpieza Final
Limpie inmediatamente cualquier exceso de pegamento de la superficie del papel y de los zócalos con una esponja limpia y húmeda. Es vital hacerlo antes de que el pegamento se seque.