
Why Proper Wallpaper Preparation is Non-Negotiable
The secret to a durable, bubble-free wallpaper finish lies in meticulous preparation. A properly prepared surface not only simplifies the installation process but is also the single most important factor in the wallpaper’s longevity.
Here’s how to create the perfect canvas.
Step 1: Clean and Inspect Your Walls
- Cracks or holes
- Uneven texture
- Nail pops or bumps
Step 2: Remove Old Wallpaper (If Necessary)
While it might be tempting to apply new wallpaper over an existing layer, this is a shortcut that often leads to adhesion problems, visible seams, and an uneven finish. Always remove old wallpaper first.
Use a wallpaper stripper and a scraper for the bulk of the removal, and then use a sponge with warm water to wash off any lingering adhesive residue.
Step 3: Prime for Success
- Creates a uniform surface for the wallpaper to adhere to.
- Prevents the paste from soaking into the drywall, which can cause the paper to dry too quickly and bubble.
- Makes future removal significantly easier.

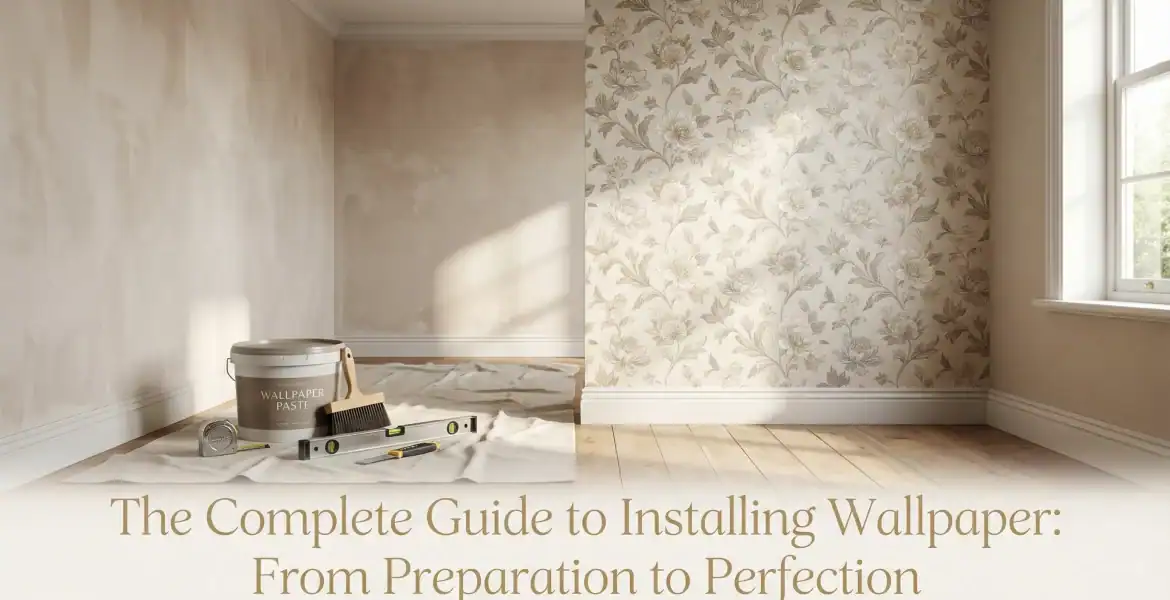
Your Essential Wallpaper Installation Toolkit
Having the right tools is essential for an efficient and enjoyable wallpapering experience. While some specialty items are needed, many are common household tools.
Gather these items before you begin.
- Measuring & Marking:
- Tape measure, pencil, and a level or plumb line.
- Cutting:
- A sharp utility knife with plenty of extra blades and a straightedge or yardstick.
- Application:
- Wallpaper smoother (or plastic putty knife), seam roller, and a wallpaper brush.
- Pasting (Traditional):
- Pasting table, pasting brush or roller, and the correct wallpaper adhesive for your paper type.
- General Supplies:
- Paint roller with a 3/8-inch nap, paint tray, a bucket for water, and a sponge for cleanup.

How to Install Wallpaper: A Step-by-Step Guide
With your walls prepped and tools assembled, it’s time to hang the wallpaper.
The fundamental principles are the same regardless of the wallpaper type.
Mastering Different Installation Methods
- Traditional (Unpasted) Wallpaper:
- This type requires applying wallpaper paste to the back of the paper. It offers the strongest, most durable bond, making it perfect for high-traffic areas. You will need to cut your strips, apply the paste, and then “book” the paper (folding it paste-to-paste) to allow the adhesive to activate.
- Pre-pasted Wallpaper:
- This user-friendly option has a dried adhesive on the back that is activated by water. Simply submerge the rolled strip in a water tray for the time specified by the manufacturer, then book it to let the paste activate.
- Peel-and-Stick Wallpaper:
- The easiest method, ideal for renters and accent walls. This self-adhesive wallpaper allows you to simply peel off the backing and smooth it onto the wall.
How to Hang Your First Strip of Wallpaper
- Establish a Plumb Line:
- Your first strip must be perfectly straight, as it will guide the rest of the installation.
- Use a level and a pencil to draw a vertical plumb line on your wall, about one inch less than the width of your wallpaper from the corner.
- Hang the First Strip:
- Align the edge of your first wallpaper strip with the plumb line, leaving a few inches of excess paper at the top and bottom for trimming.
- Smooth It Out:
- Using a wallpaper brush or a plastic smoother, work from the center of the strip outwards to gently press the paper onto the wall and remove any air bubbles.
Pattern Matching and Seams
For subsequent strips, you must align the pattern at the seams. Gently slide the new strip into place next to the previous one until the patterns match perfectly.
The seams should be tightly butted together with no overlap or gaps. Use a seam roller to gently press the seams, being careful not to squeeze out the adhesive.
Trimming for a Clean Finish
Trimming the excess paper at the ceiling and baseboard is the final touch. Use a sharp utility knife and a straightedge or a wide putty knife to make a clean, straight cut.
Crucially, change your blade frequently, a dull blade will tear the paper.

How to Wallpaper Around Corners and Obstacles
Wallpapering around obstacles like corners, windows, and outlets requires patience and precision. Don’t worry, it’s easier than it looks.
Inside and Outside Corners
- Inside Corners:
- Hang the strip so it extends about 1/2 inch onto the adjacent wall. Press it firmly into the corner. Start the next strip on the adjacent wall, overlapping the corner.
- Outside Corners:
- Wrap the paper around the corner by about 1 inch. Start the next strip on the other side, overlapping the first. Use a sharp knife and a straightedge to cut through both layers at the corner, then peel away the excess to create a perfect seam.
Windows, Doors, and Outlets
For windows and doors, hang the strip so it overlaps the frame, then make diagonal cuts at the corners to help it lie flat. For outlets and switches, turn off the power, remove the cover plates, and hang the wallpaper over the opening.
Make an “X” cut over the opening with your knife and trim the excess before replacing the plate.

Troubleshooting Common Wallpaper Issues
- Bubbles and Wrinkles:
- Small bubbles can be pushed out with a smoother. For larger bubbles, prick them with a pin and gently press the air out.
- Wrinkles often mean the paper wasn’t booked correctly; you may need to gently peel back the strip and re-smooth it.
- Lifting Seams:
- If a seam starts to lift, apply a small amount of wallpaper seam adhesive with a tiny brush and press it back into place with a seam roller.
- Pattern Mismatch:
- If you notice a mismatch, it’s best to peel back the strip and reposition it immediately before the paste dries.