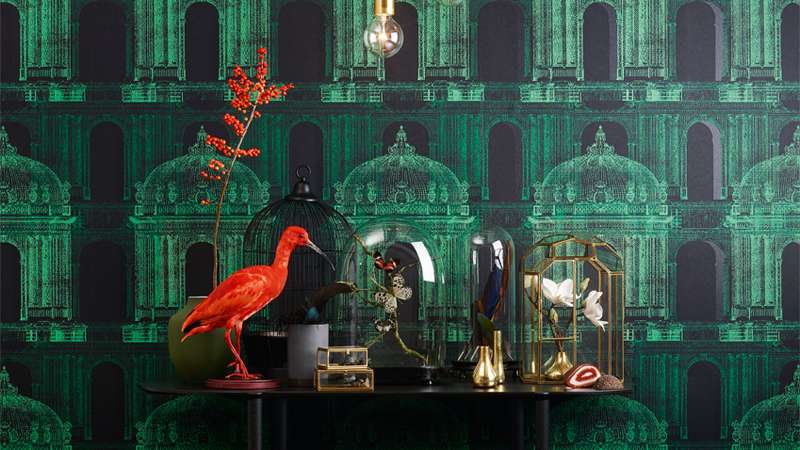
Wallpaper can make a huge impact on a space. The endless possibilities of patterns and textures mean giving a room a facelift can be as simple as choosing the perfect wallpaper. The hard part is the installation. Before you get overwhelmed, know that the process is not as hard as it looks. Follow these steps and your potential DIY disaster will turn into a DIY dream.

Tools for hanging prepasted wallpaper:
- Water tray
- Knife or snap off blade
- Level
- Sponde & bucket of clean water
- Smoothing brush or plastic smoother
- Tape measure
- 4″-6″ putty knife and/or straight edge
- Pencil
- Step stool
- Drop cloth
Wet and book the strip
- Fill a water tray 2/3 full with water at room temperature.
- Roll the cut strip from bottom to top, paste side out.
- You should not see the pattern.
- Submerge the rolled strip into the water tray.
- Soak for the amount of time recommended in the manufacturer’s hanging instructions, usually 30 seconds.
- Holding the top of the sheet, slowly lift and unroll the paper onto a work table, making sure the paste is completely wet.
- Fold the strip
- Gently fold both ends, paste side in, towards the center of the strip, without creasing the folds. This is known as “booking”. You should see the pattern.
- Let the strip rest for the amount of time recommended in the manufacturer’s hanging instructions, usually about 2-5 minutes.
Hanging your first strip of wallpaper
- Apply wallpaper paste. (For un-pasted wallpaper, apply pre-mixed paste using a large pasting brush or paint roller, working from the middle to the ends. Be sure that all areas are covered with paste with no un-pasted spots. Gently fold the top of the sheet down to the middle so that the pasted sides touch. Next, fold the bottom edge up to the middle. This allows the paste to cure and keep it from drying out. Do not crease the wallpaper.)
- Start on the least conspicuous wall of the room, where you have previously used a level to draw your plumb line.
- Unfold the top half of the strip and apply to the wall, letting a little bit of the wallpaper overlap the ceiling and adjoining wall. Make sure your pattern is right side up!
- Slide the paper into position so it lines up on the plumb line that you created.
- Using a wallpaper smoothing tool, gently press the strip to the wall. Be careful not to stretch the wallpaper while positioning.
- Unfold the bottom half and smooth into place.
- Smooth the entire strip, working diagonally from the top down and from the center outward, forcing out any air pockets.
- Wash off excess paste with a damp sponge and clean water. Remember always to use clean water.
Trim Wallpaper
- Using the 6″ putty knife as a guide, trim the excess paper along the ceiling and baseboard with a sharp razor knife. Always use a sharp knife or blade for every cut and do not to lift your knife when making long cuts.
- Wash paste off ceiling and baseboards with a wet sponge and clean water.
Continue
- Use the same procedures to cut and apply more wallpaper strips, matching the pattern to the previous strip.
- Touch the edges tightly together, but don’t overlap the strips.
- Make a new plumb line on each new wall.
Tips
- Don’t be in a hurry. Work slowly to avoid making mistakes.
- Have a large area to work in and don’t crowd yourself.
- Cover every area of the back of the wallpaper with paste. Any area left dry, even a small space, will bubble and not adhere to the wall.
- Smooth paper surfaces gently. Don’t put any pressure on the face of the wallpaper.
- Carefully clean off the surface of the wallpaper before the paste dries.
Related Posts

2022 Best Exterior Colours, Styles & Paints for your Home
When painting the exterior of your house and other outdoor...
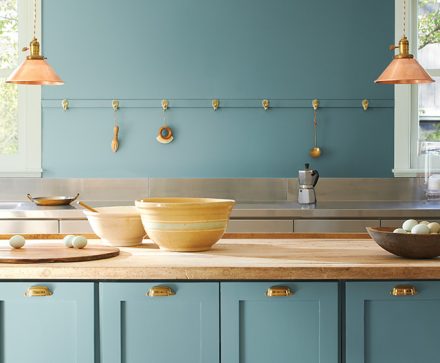
2022 Best Colors Styles & Inspirations for the Kitchen
KITCHEN COLOUR IDEAS & INSPIRATION Now is the time to...
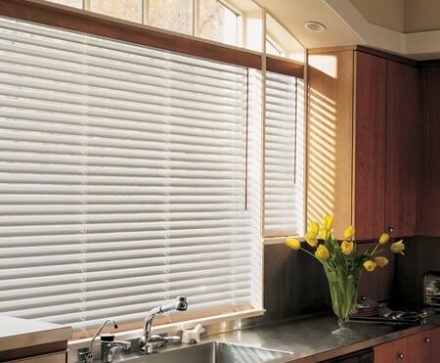
How to prepare to Install new window Blinds?
Empire wallpaper is Montreal premier wallpaper house for over 40...

The Ultimate Bathroom and Powder Room Paint Colours for 2022
Get inspired by our expertly curated bathroom paint colours, and...
How to Hang Wallpaper A DIY guide, Empire Wallpaper Montreal